Sentiment Analysis using MindsDB and OpenAI
Analysing sentiments in Donald Trump's Tweets

I am basically a CSE Grad with Full Stack Java certification, who loves to code, take part in hackathons, and contribute to the community. Let me add that I am a hardcore gamer as well. Feel free to invite me for a gaming session. Apart from that, I love traveling and exploring regional delicacies.
Introduction
Sentiment analysis is the process of determining the emotional tone of a piece of text. In this tutorial, we will be using MindsDB Cloud Editor and OpenAI GPT to perform sentiment analysis on Donald Trump's tweets. We will first set up the data and create an OpenAI GPT model, then we will make sentiment predictions on individual tweets and batches of tweets.
Data Setup
There are various ways to connect our data to the MindsDB cloud instance. But in this tutorial, we will use a CSV file to do the same. We can find a CSV file containing the tweets of Donald Trump either from Kaggle or from the Trump Twitter Archive.
Connecting the data
We are going to use this Donald Trump Tweets Dataset from Kaggle. We will follow the steps below to create our table from the above CSV file.
Click on the
Addbutton on the MindsDB Cloud Editor and then selectUpload Filefrom the dropdown that appears.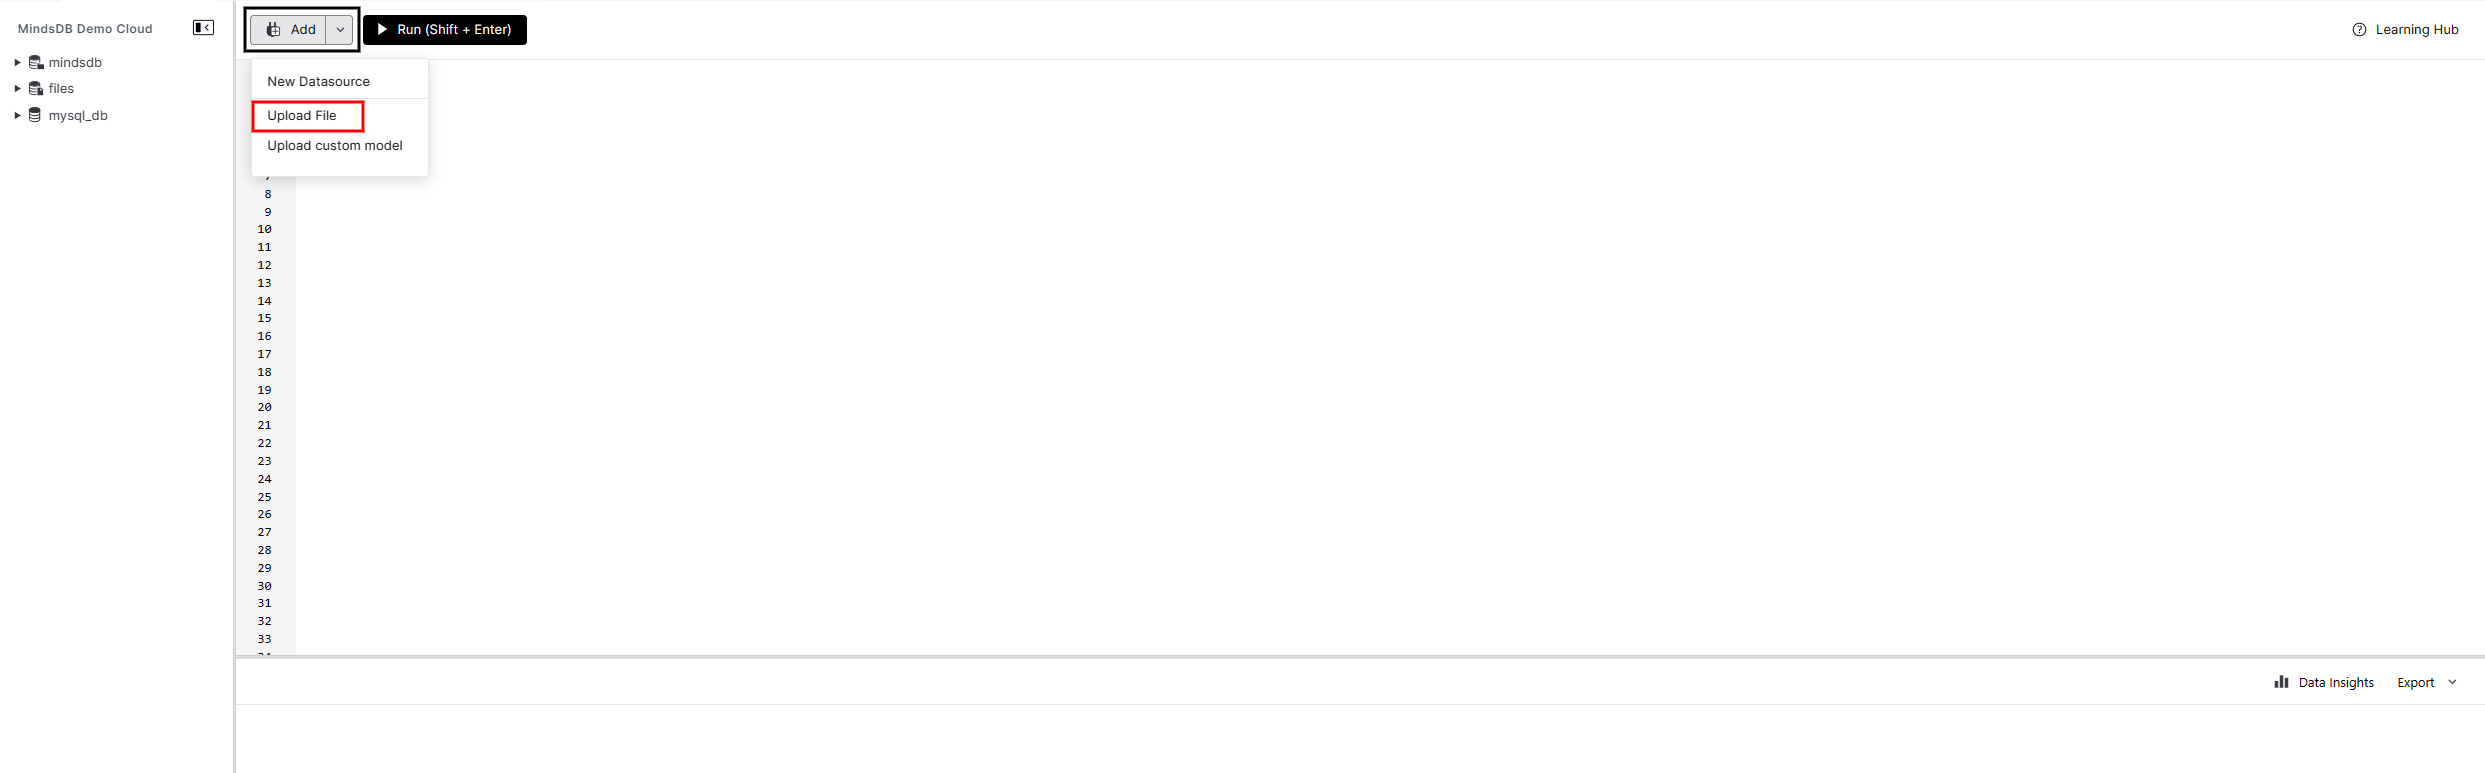
Now select the CSV file that we just downloaded, and provide a name in the
Datasource Namefield i.e., the name of the Table and then click on theSave and Continuebutton.
Once the file is uploaded successfully, the MindsDB cloud Editor opens up and you can find two basic queries. Execute the first one to list out the available tables.
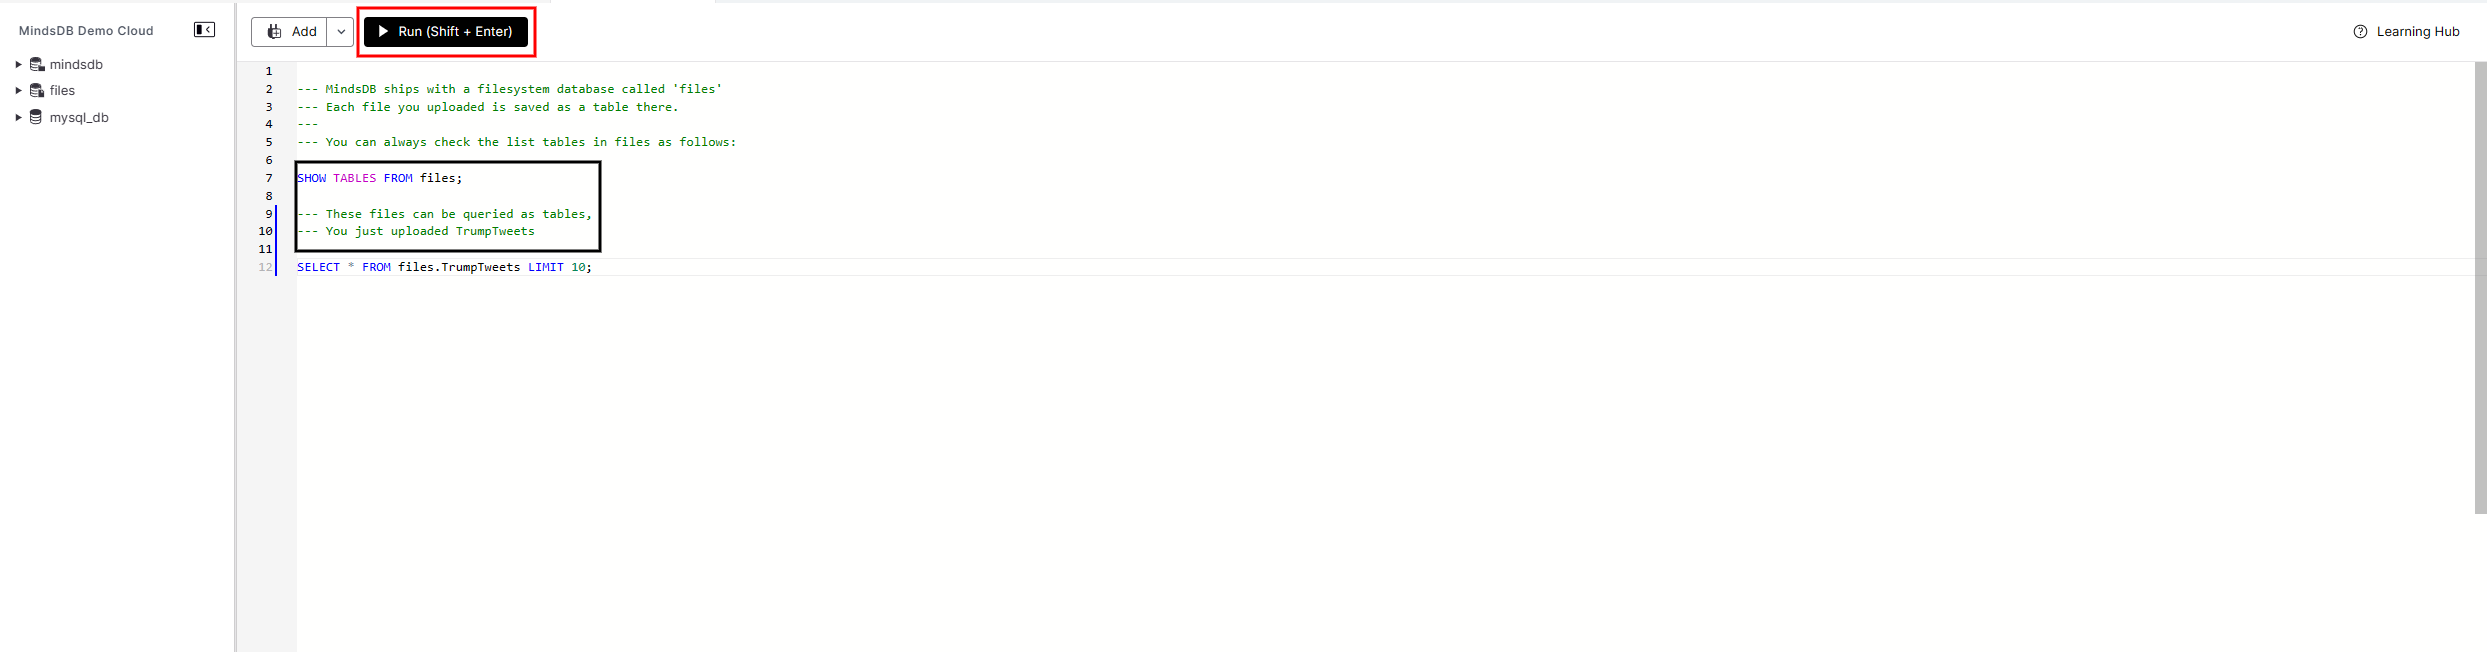
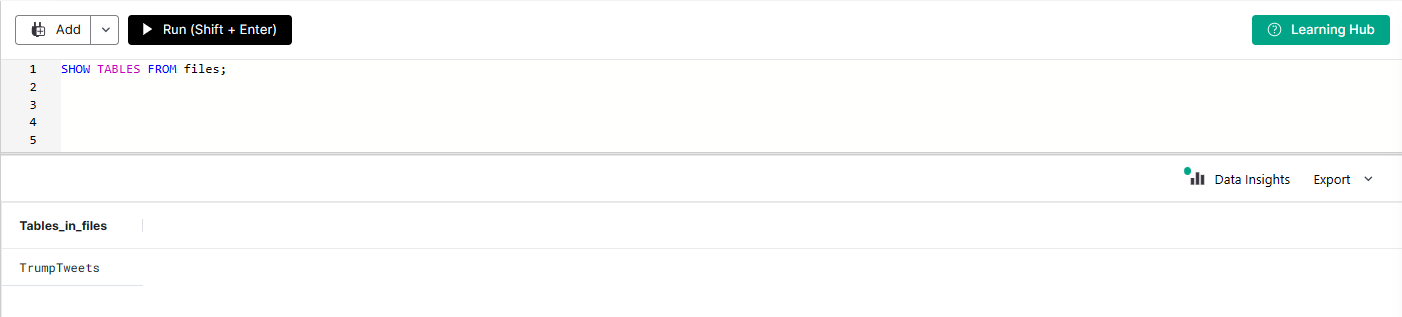
SHOW TABLES FROM files;
This should return the list of tables.
Understanding the data
Now that we have connected the data, we can explore it to understand its structure. Let's execute the Select query to fetch the table records.
Select * from files.TrumpTweets LIMIT 10;
This should return the first 10 records from the table TrumpTweets.
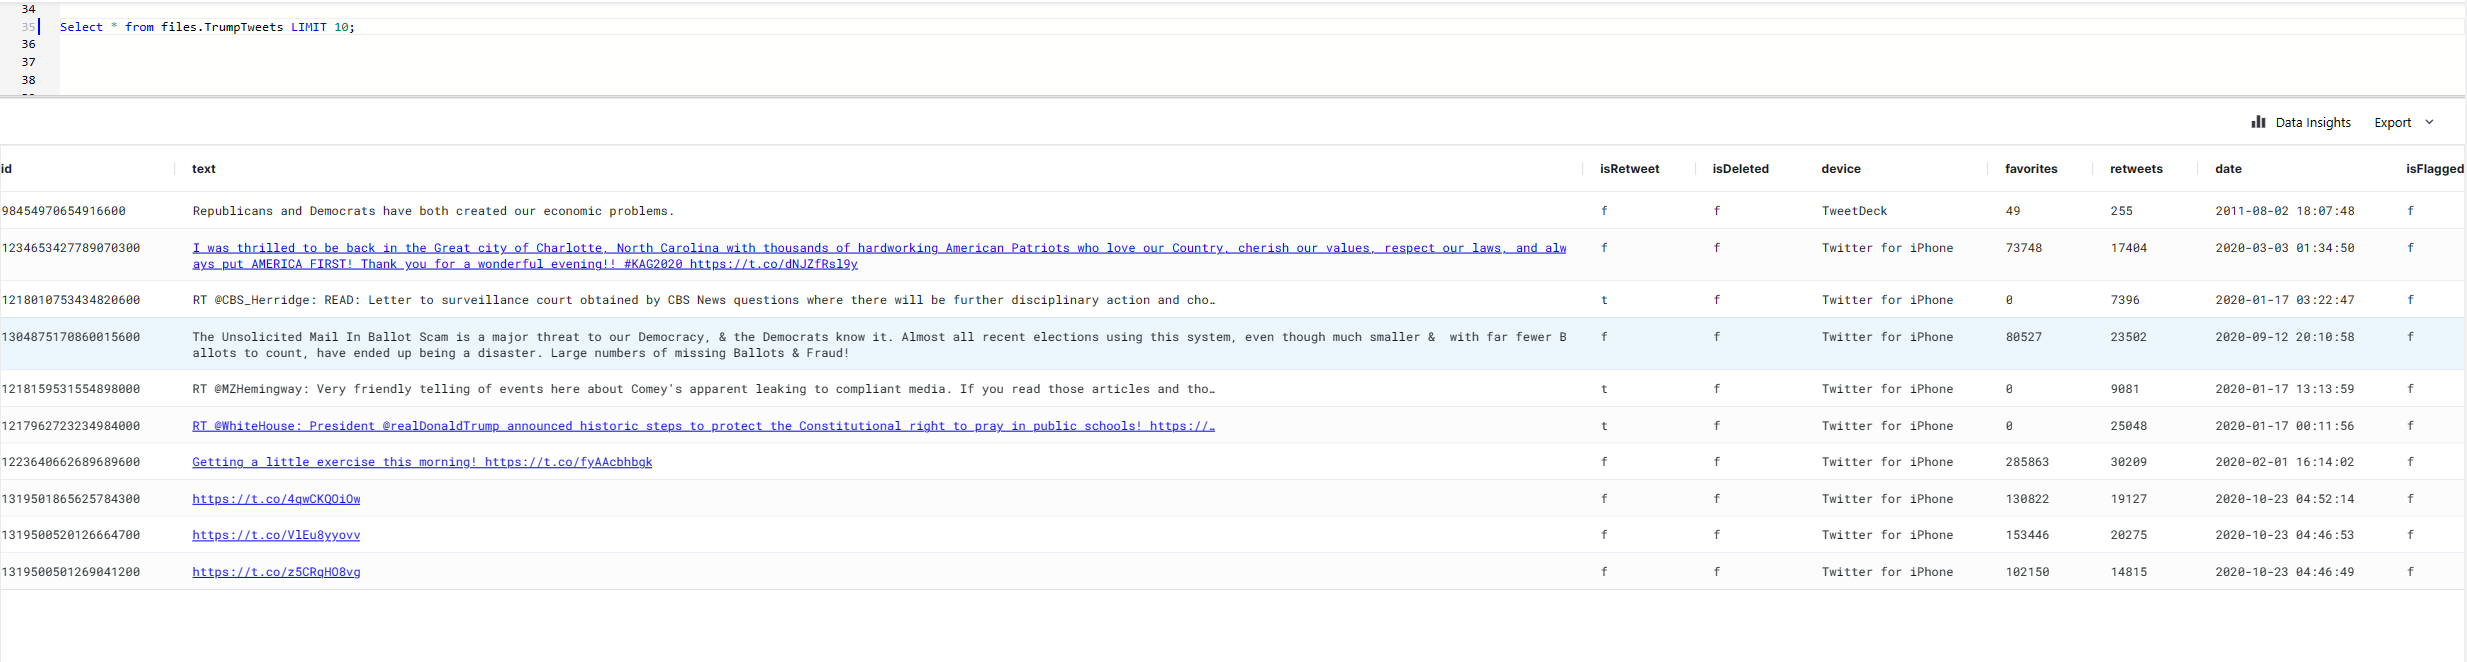
The table contains the following columns:
id: contains the tweet id
text: contains the body of the tweet
isRetweet: set to
tif it's a retweet orfif it's notisDeleted: set to
tif it's deleted orfif it's notdevice: mentions the device used to post the tweet
favorites: shows the number of people who marked the tweet as favourite
retweets: shows the number of retweets of the tweet
date: shows the date of the tweet
isFlagged: set to
tif it breaks the community posting guidelines orfif it's not
For this tutorial, we will only be using the text column containing each tweet's text.
Creating an OpenAI GPT Model
Now that we have our data set up, we can create an OpenAI GPT model using MindsDB Cloud Editor.
With MindsDB, we can achieve everything with the ease of simple SQL statements.
CREATE MODEL MODEL_NAME
PREDICT Target_Column
USING
engine = 'name_of_the_engine',
prompt_template = 'describe the Target_Column of the data
strictly as "Type X", "Type Y", or "Type Z".
"Example_Input":Type X
"Example_Input":Type Y
"{{Input_Data}}.":';
In the above template, we need to provide the following details to train the model.
MODEL_NAME: Provide the name of the model you want.
Target_Column: Name the column you want to predict i.e.,
sentimenthere.name_of_the_engine: Specify the engine for the model i.e.,
openaihere.prompt_template: Specify a template that the model can use as a reference.
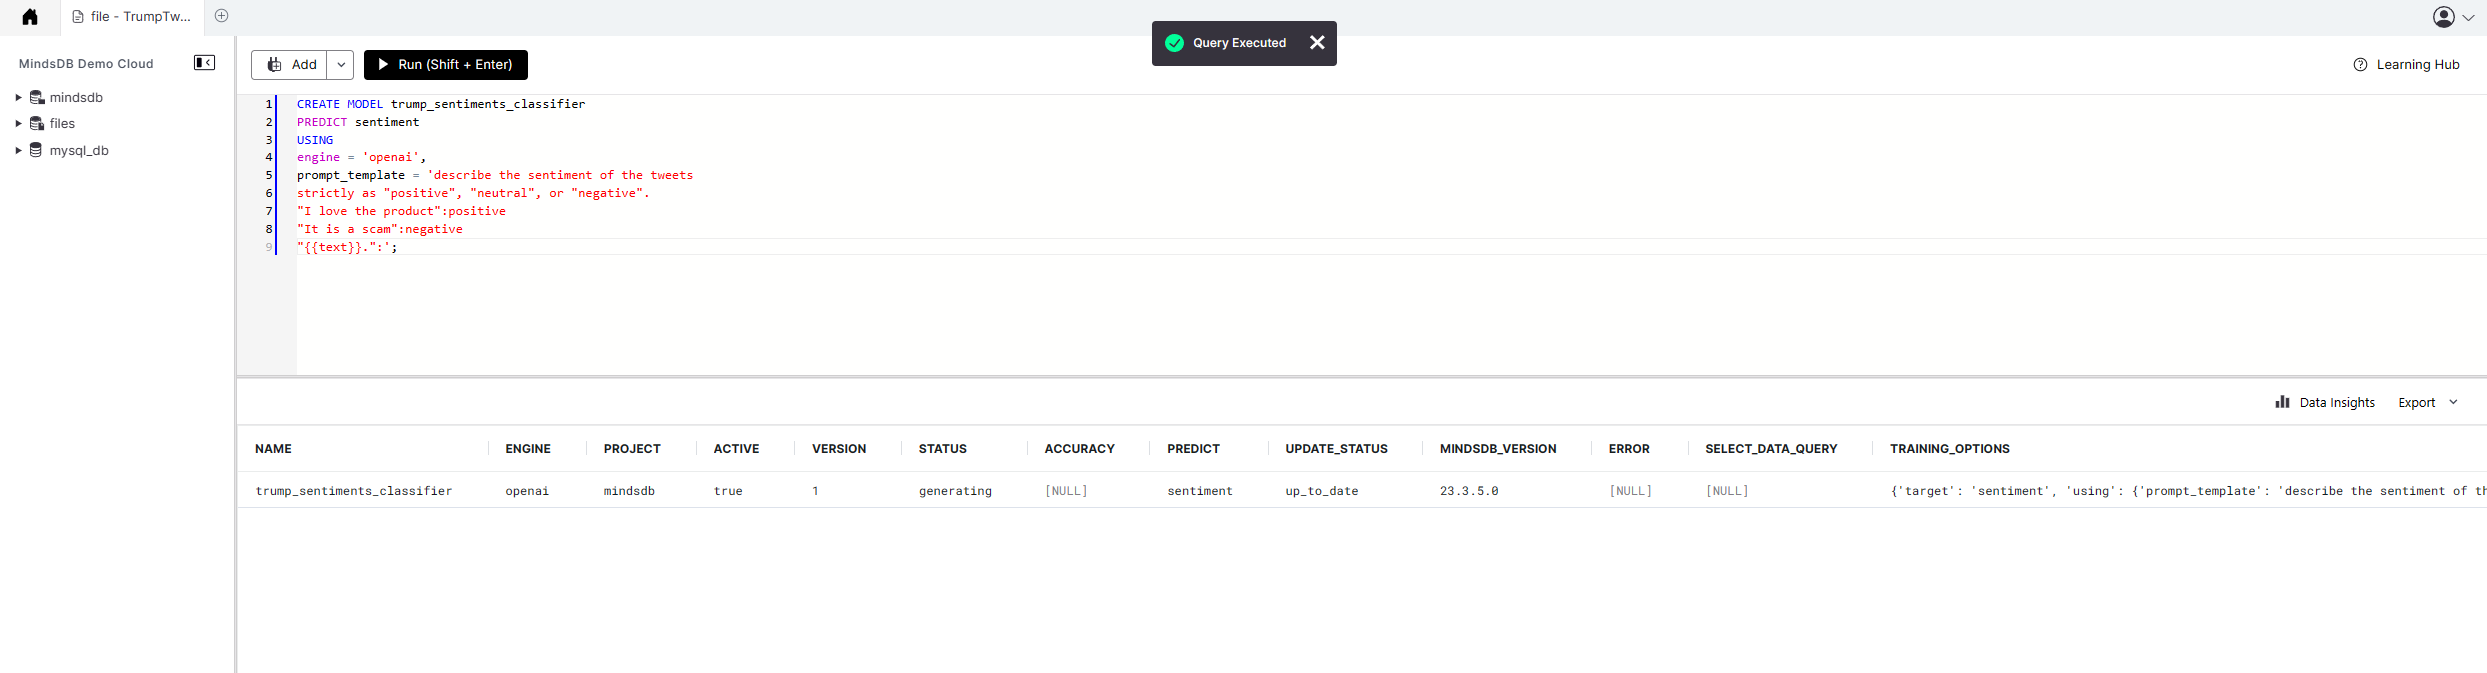
Now if we replace the placeholders in the above query, the actual query should look something like this.
CREATE MODEL trump_sentiments_classifier
PREDICT sentiment
USING
engine = 'openai',
prompt_template = 'describe the sentiment of the tweets
strictly as "positive", "neutral", or "negative".
"I love the product":positive
"It is a scam":negative
"{{text}}.":';
This should return the following upon successful execution.
Status of the Model
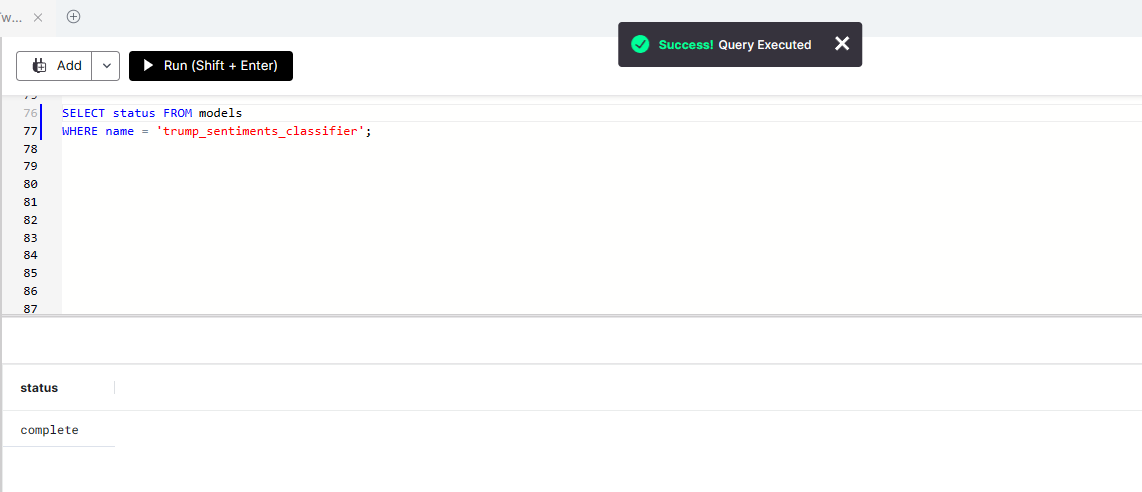
Once the model is created, you can check its status by using the simple SQL query given below. We have to wait for the status to return complete before we can use it for sentiment analysis.
SELECT status FROM models
WHERE name = 'trump_sentiments_classifier';
This returns the status of the model trump_sentiments_classifier.
Making Sentiment Analysis
Now that our model is ready, we can use it to make predictions on new data. In this case, we'll use it to predict the sentiment of Donald Trump's tweets. We will predict the sentiments in two ways one after the other.
Making a Single Prediction
To make a single prediction, we'll first need to provide an input text and ask the model to return its sentiment.
To do this, we can use MindsDB's Select function to make a prediction based on the input text.
This will output the predicted sentiment of the text, which should be either "Positive," "Negative," or "Neutral."
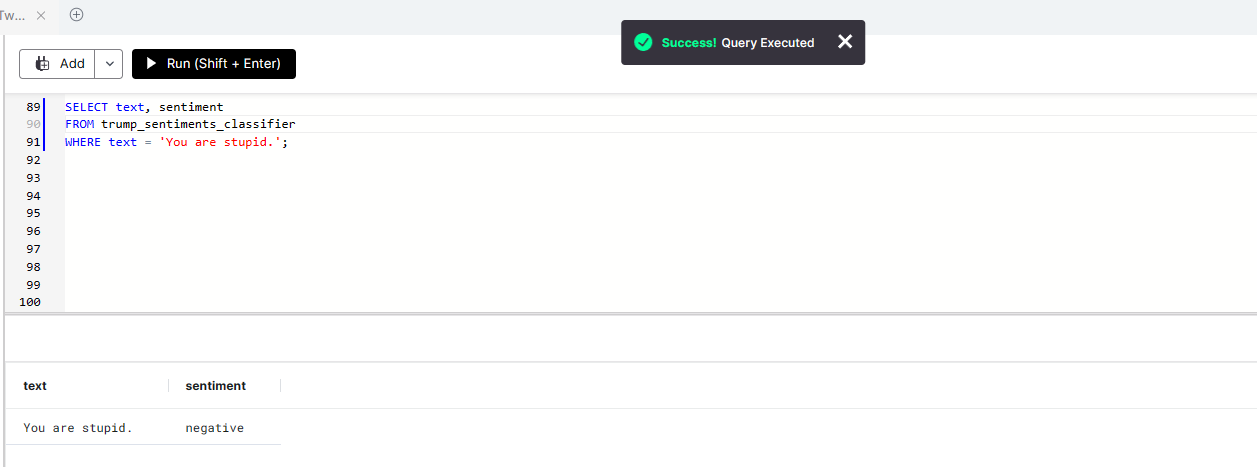
SELECT text, sentiment
FROM trump_sentiments_classifier
WHERE text = 'You are stupid.';
This should return the sentiment of the above text which is negative.
Making Batch Predictions
Now we will try to predict the sentiment of each tweet in the table. This is what we call a Batch Prediction.
Here's an example of how we can do that.
SELECT input.text, output.sentiment
FROM files.TrumpTweets AS input
JOIN trump_sentiment_classifier AS output
LIMIT 10;
Here, we are asking the model to return two rows in the form of a table that contains the text column which has the tweets and the sentiment column which contains the predicted sentiment of each of these tweets.
The result should look something like this.
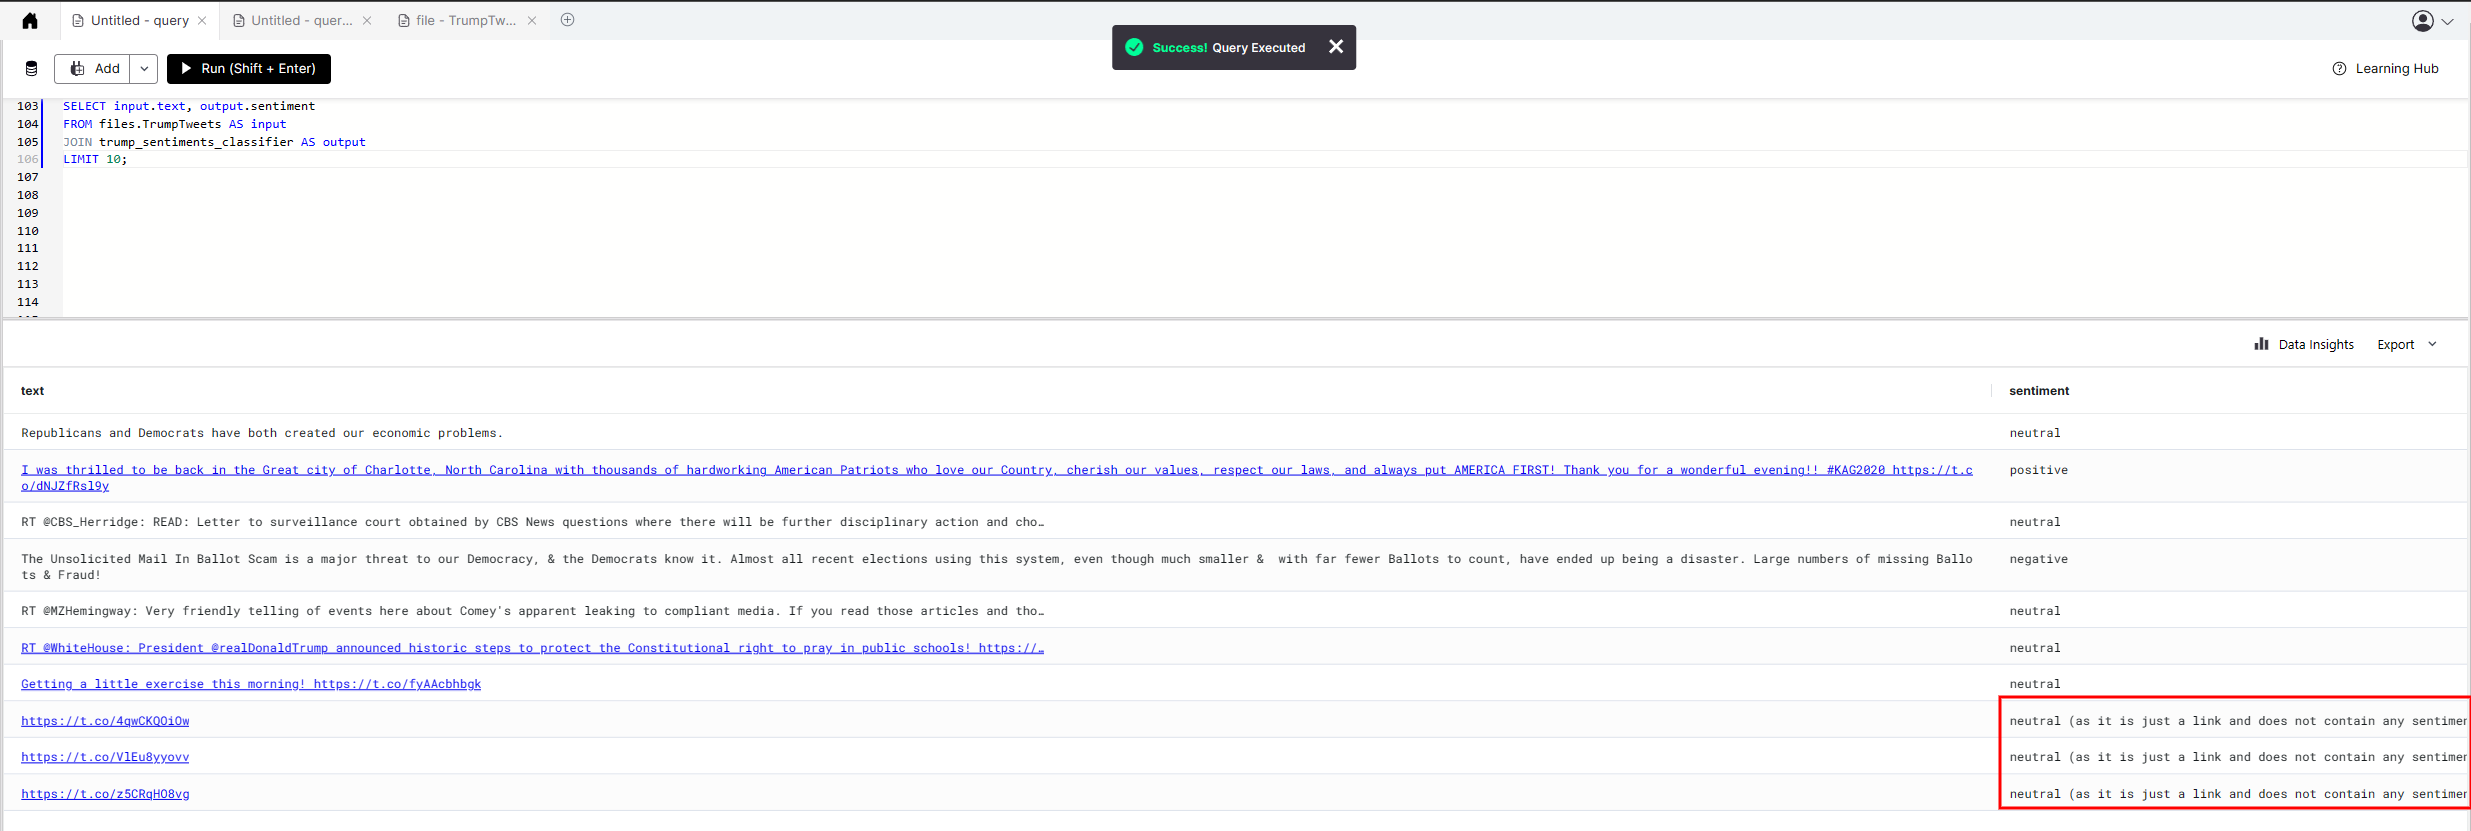
One thing to notice here is that the model identifies the links in these tweets and mentions that in the sentiment column, marking them as neutral.
Conclusion
In this tutorial, we've shown how to use MindsDB Cloud Editor and OpenAI GPT to perform sentiment analysis on Donald Trump's tweets. We started by setting up our data, connecting it to MindsDB Cloud Editor, and creating an OpenAI GPT model for sentiment analysis. Then, we learnt how to make predictions using both a single input and a batch of inputs.
MindsDB Cloud Editor and OpenAI GPT are potent tools for sentiment analysis and machine learning in general. By following the steps outlined in this tutorial, you should now have a good foundation for using these tools to perform your sentiment analysis on other datasets.
Lastly, before you leave, don't forget to shower your love on this article by liking it and sharing it on your socials or by dropping a comment below.
MindsDB has recently organized a Hackathon in collaboration with Hashnode. You can check all the details by clicking on the banner below.